Review Resource Setup Instructions
Last modified on:
Overview
This document provides a guide to setting up a review system for your clients. It includes instructions on locating the setup options, adding review resource groups, adding ratings and questions, and managing resources.
Prerequisites
- Access to the system's menu and setup options.
Steps
Location
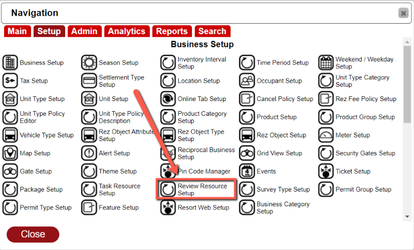
- Click any Menu button.
- Click on the Setup tab.
- Select Review Resource Setup in the Business Setup section.
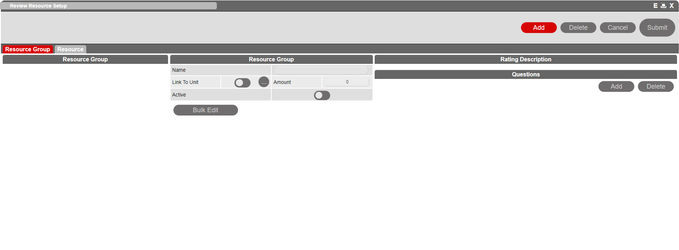
Adding a Review Resource Group
- Click the Add button in the top right to activate the inactive inputs.
- If there are existing Resource groups, the Add button opens the Add Resource Group dialog.

- Input the Name.
- Select a Copy From source (New or previously created resource).
- Click Select.
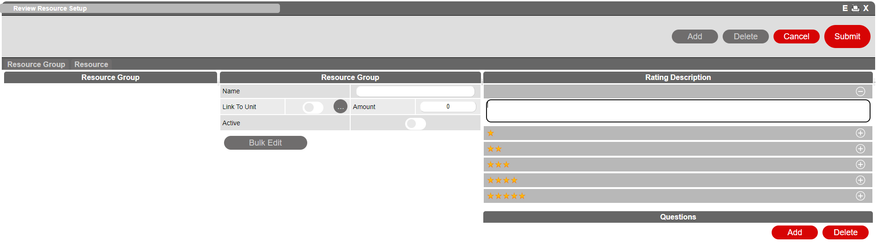
- Input the Resource Group Name.
- Link the reviews to a unit/unit type by clicking the 3 dot button.
- If a unit is selected, the amount field updates automatically.
- Click the active toggle to activate the resource.
Adding Ratings
- Set up details fields for review style interaction.
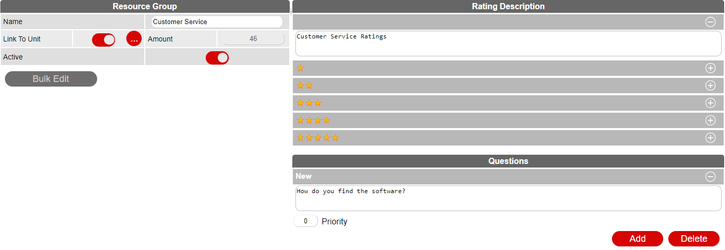
- The Rating Description ranges from 0 stars to 5 stars, allowing input for a rating label in each category.
- Input each label in each category.
Adding Questions
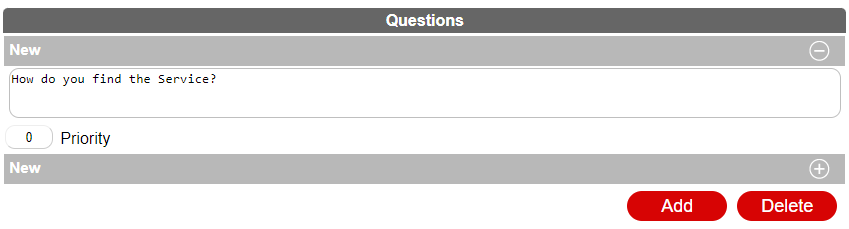
- Questions can be added by clicking the Add button below.
- Delete questions by clicking the Delete button.
- Add a new question by clicking Add again.
- Set the position of the questions using Priority.
- When satisfied with your setup, click the Submit button above.
Deleting a Resource Group
- Select the resource group from the left side panel.
- Click Delete in the top right.
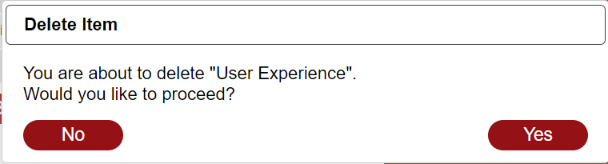
- Click Yes in the Delete prompt.
The Resource Tab
- The Resource tab displays active resources configured for all assigned units.
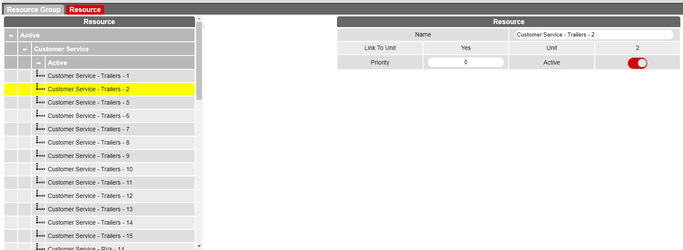
- Resources can be edited to the right of the list.

Deleting a Resource
- Resources can be deleted by clicking the Delete button in the top right.

- Click Yes in the Delete prompt.
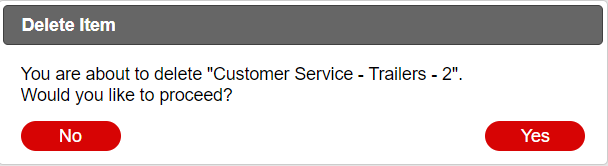
- The resource is now deleted.
Note: If you want to keep the resource but do not want to see it, toggle the Active toggle to make it inactive.

Troubleshooting
- Ensure you have the necessary permissions to access the setup options.
- Verify that the system is updated to the latest version to avoid compatibility issues.