RXC 10 Theme Setup Instructions
Last modified on:
Overview
Theme Setup allows you to customize the appearance of your RXC 10 interfaces.
Prerequisites
- Access to the RXC 10 interface.
Steps
Location
- Click any Menu button.
- Click on the Setup tab.
- Select Theme Setup in the Business Setup section.
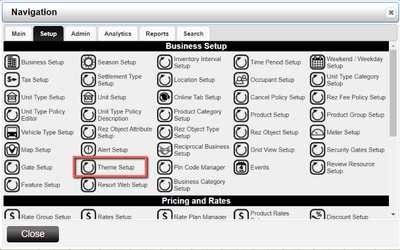
Theme Setup Interface
- The Theme Setup interface loads with the theme names displayed in the left panel and the corresponding theme attributes displayed in the right panel.
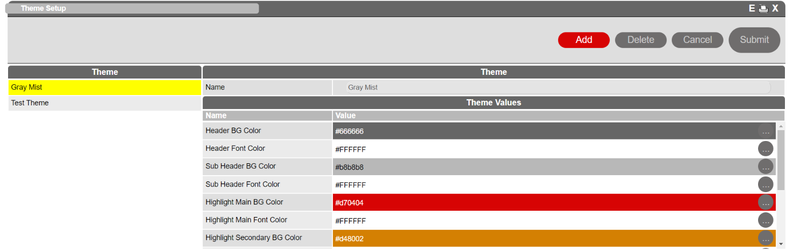
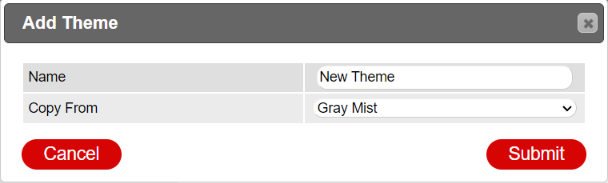
Adding a Theme
- To add a new theme, click the Add button in the upper right corner.
- In the Add Theme dialog box, enter a Name for your theme and Copy From a previously made theme to use as a template.
- Click Submit to create the new theme.
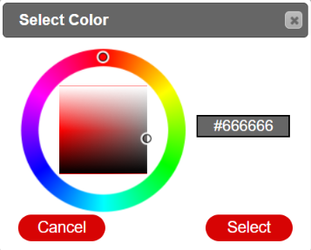
Editing a Theme
To edit a new or existing theme:
- Go to the right panel.
- Choose an attribute to edit.
- Click the three-dot button to open the Select Color dialog.
- Adjust the color selectors until you achieve your desired color.
- Click Select to finalize your selection.
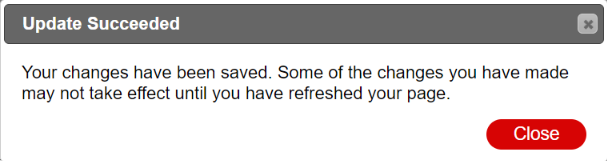
- Click Submit to save your changes or Cancel to discard them.
Deleting a Theme
To delete a created theme:
- Select the desired theme.
- Click the Delete button.
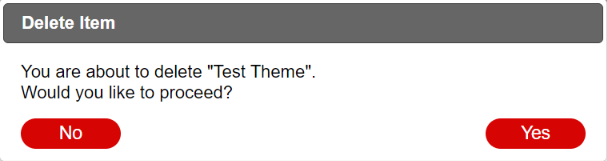
- In the Delete Item dialog, click Yes to delete the theme or No to keep it.
Activating a Theme
To activate a new theme:
- Click any Menu button.
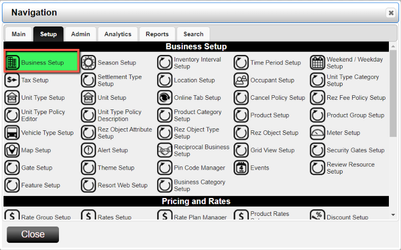
- Click on the Setup tab and select Business Setup in the Business Setup section.
- Select the Preferences tab.
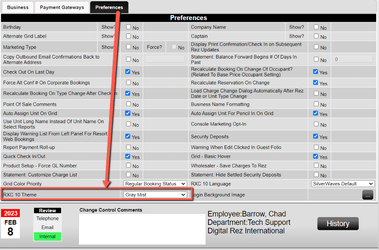
- See RXC 10 Theme at the bottom left, select the drop-down to choose a theme.
- Add a change control comment.
- Click Submit at the top of the panel.
Troubleshooting
- Ensure all steps are followed in sequence.
- Verify that you have the necessary permissions to access the Theme Setup.
- If issues persist, consult the RXC 10 support documentation or contact support.