Business Category Setup Instructions
Last modified on:
Overview
The Business Category Setup feature allows you to organize your created businesses into custom categories.
Prerequisites
- Access to the menu and setup tabs within your application.
Steps
Location
- Click any Menu button.
- Select the Setup tab.
- In the Business Setup section, choose Business Category Setup.
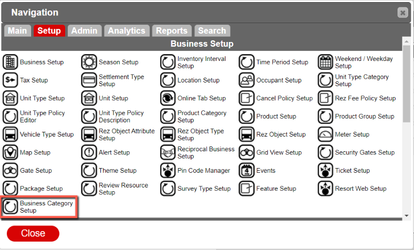
The Business Category Setup page loads afterwards.
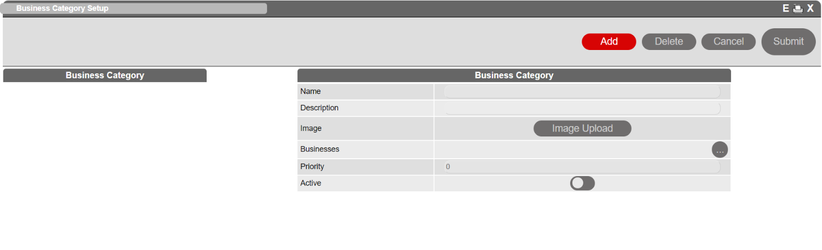
Adding a Business Category
To add a business category:
- Click Add.
- The inputs become active to be edited.
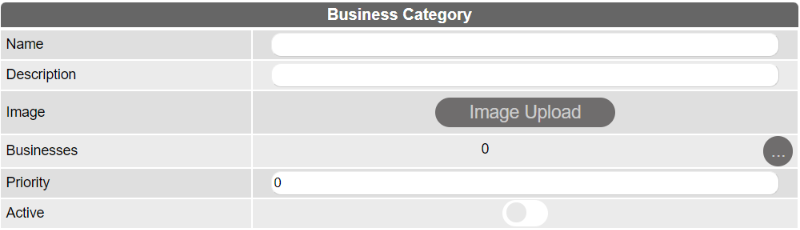
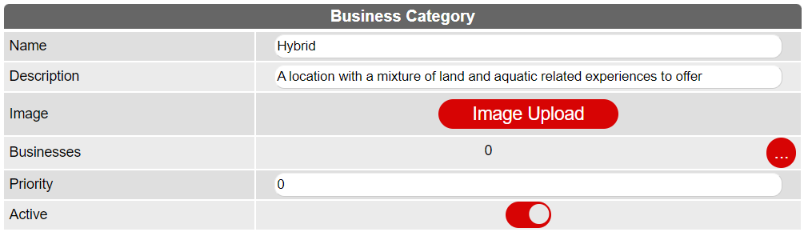
- Input the necessary information.
Descriptions:
- Name: The name of the category you're creating.
- Description: A description related to the category.
- Image: Upload an image that best represents the category.
- Businesses: Add your businesses to this category.
- Priority: Set the position in which the category will appear.
- Active: Toggle this to make the category active and ready to go live.
- Click Submit to save your changes.
- Click Cancel to discard the changes.
Deleting a Business Category
To delete your custom Location:
- Select your Location on the left.
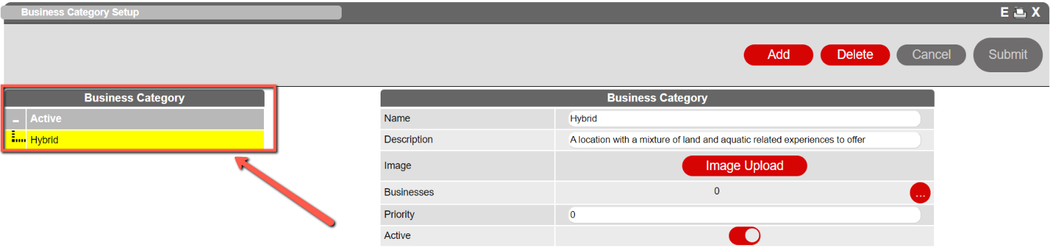
- Click Delete in the top right.

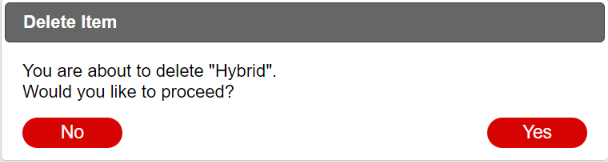
- Click Yes on the prompt to Delete or No to cancel the deletion process.
Troubleshooting
- Ensure you have the necessary permissions to access and modify the Business Category Setup.
- Verify that all required fields are filled out correctly before submitting a new category.