Ticket Sales Panel Usage Instructions
Last modified on:
Overview
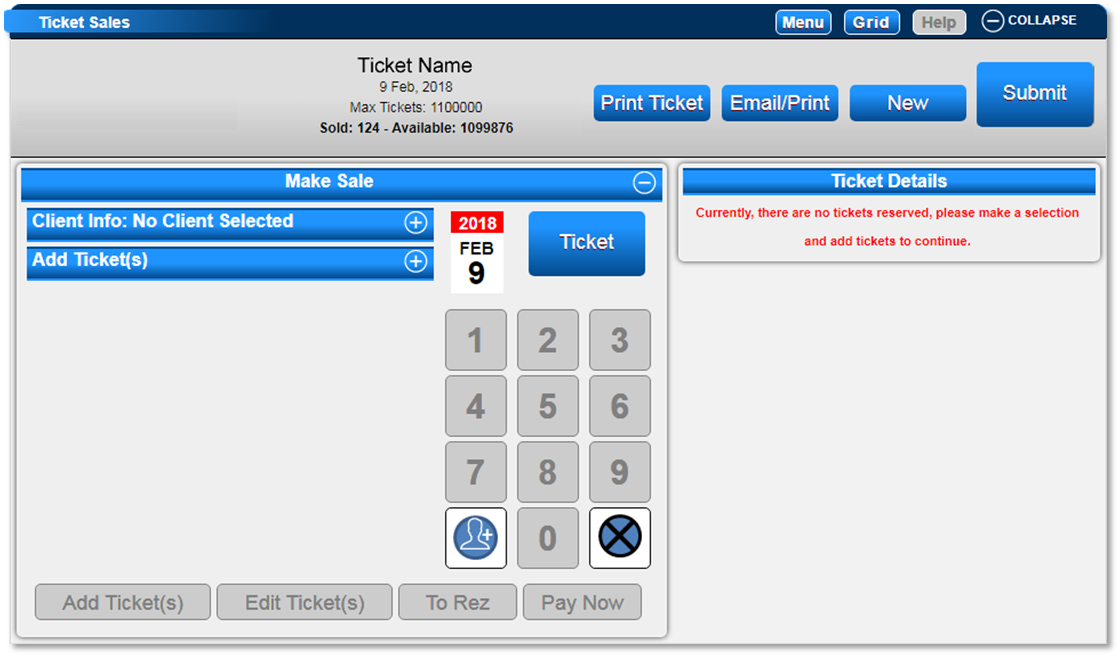
All ticket sales are performed in the Ticket Sales panel.
Prerequisites
- Access to the Availability Grid.
- Ability to navigate the menu to select the Ticket Sales option.
Steps
Location
- The Ticket Sales Panel is located below the Availability Grid.
- To access, scroll down and expand the Ticket Sales Panel or click on the Menu button and select Ticket Sales from the Main tab.
Calendar
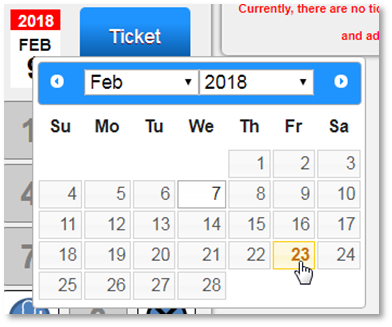
- The date of the ticket will display on the Calendar.
- Click on the Calendar to select a future date if required.
Ticket Button
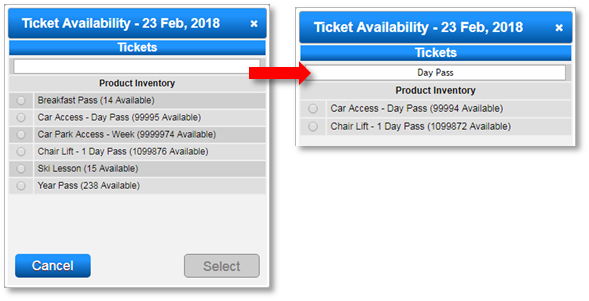
- Displays all setup tickets and their inventory for the date shown on the calendar.
- Use the search field at the top of the Ticket Availability box to find a ticket label.

Ticket Inventory
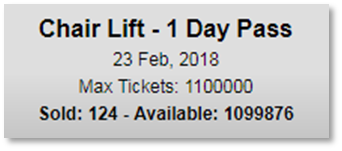
- When a ticket is selected, the Ticket Label, selected date, Max Tickets, Sold, and Available numbers will display at the top of the Ticket Sales panel.
Client Information
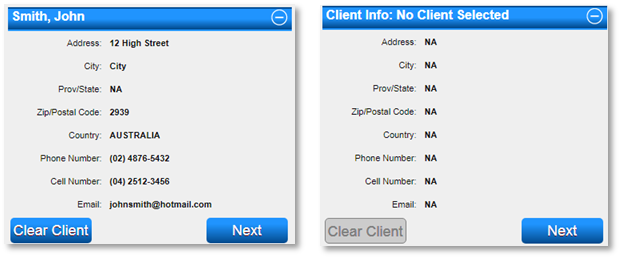
- The Client Info column displays the client associated with the ticket sale.
- If no client info is available, the ticket transaction will display as ‘System’.
- Click the button to display the Client Search panel to search and select the required client.
- Use the Clear Client button if the incorrect client was selected.

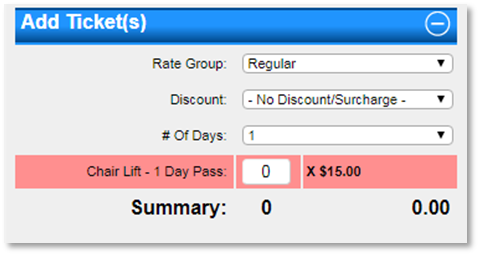
Add Ticket(s)
- When a ticket is selected, the Ticket sale information will display for selection to add to the sale.
Ticket Detail(s)
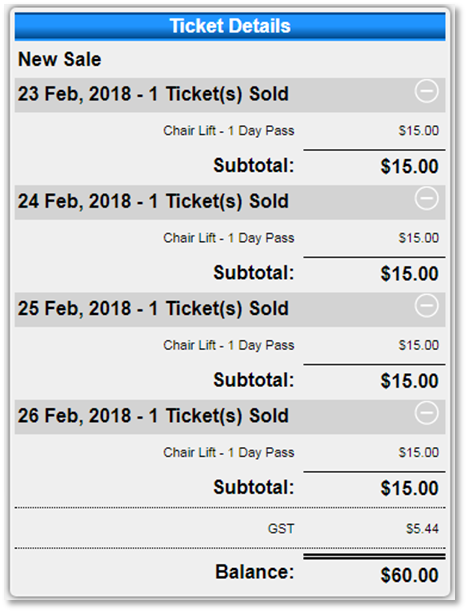
- The Ticket Detail(s) area displays the transaction log of the ticket sale.
- Before selecting and adding a ticket, it will display: Currently, there are no tickets reserved, please make a selection and add tickets to continue.
- Once ticket(s) are selected, details such as Occupants, Quantity, Price, Discount, etc., will display, along with the Subtotal and Balance of the transaction.
- When the Pay Now button is selected, the Ticket Detail(s) area will also display the Posted Payment(s).
Print Ticket and Email/Print Buttons
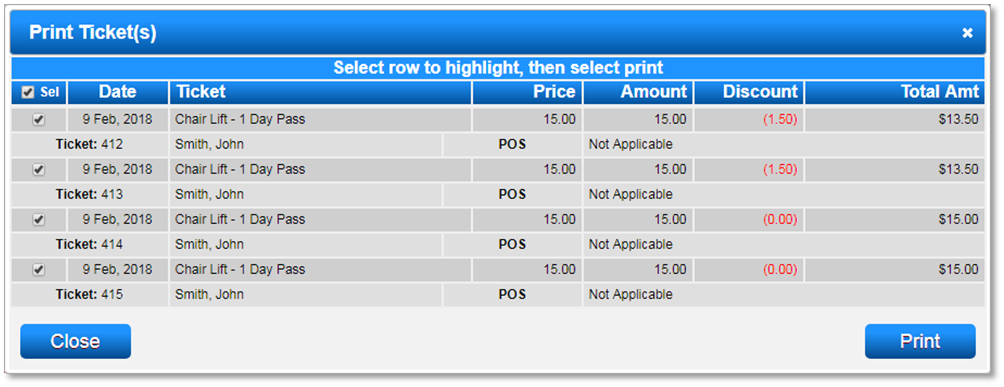
- The Print Ticket button allows operators to print the Ticket(s).
- Tickets will display for selection; click on individual or all tickets to print.
- The Email/Print button allows the operator to:
- Email a Ticket Confirmation with or without a Ticket attachment and/or Receipt for printing.
- Print a Receipt for the Ticket Sale.
Troubleshooting
- Ensure the correct date is selected on the Calendar.
- Verify client information is accurate before proceeding with the sale.
- Check ticket availability and inventory before adding tickets to the sale.