RezExpert Language Setup and Management
Last modified on:
Overview
The Language Setup panel allows users to modify labels and text displayed in the RezExpert interfaces for both users and customers.
Prerequisites
- Access to the RezExpert system.
- Appropriate permissions to modify language settings.
Steps
Location
- Click any Menu button.
- Click the Admin tab.
- Select Language Setup in the Administrative section.
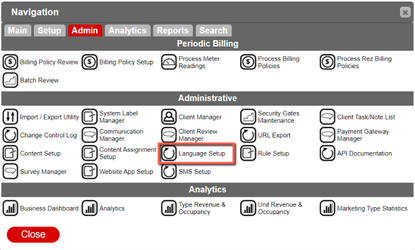
Language Setup Interface
- Left panel: Lists available language templates.
- Right panel: Shows the corresponding language labels.
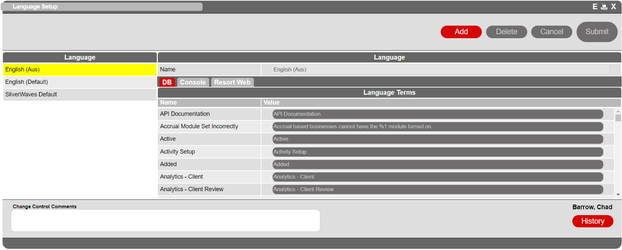
Descriptions
- DB: List of terms found in database sections.
- Console: List of all terms used in the Console.
- Resort Web: List of all terms used in Resort Web/Online Booking.
- Language: Displays the two default languages—English (Aus), English (default)—along with any custom-created languages.
- Language Terms: The Name column contains the default terms.
- Value: Allows you to enter your preferred terminology.
Adding a Language
- Click the Add button in the top-right corner.
- The Add Language dialog will appear.
- Enter a Name for your new language.
- Use the Copy From option to base it on an existing language template (if needed).
- Click Submit to complete the process.
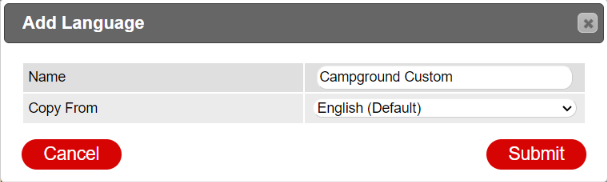
Editing a Language
To edit a newly created or existing language:
1. Select the Language from the left panel to load the Language Terms form.
2. Navigate to Language Terms on the right.
3. The panel is divided into two sections:
- Name: Displays the default labels.
- Value: Editable fields where you can enter your preferred terminology.
4. Edit the Value(s) as needed to update the displayed terms.
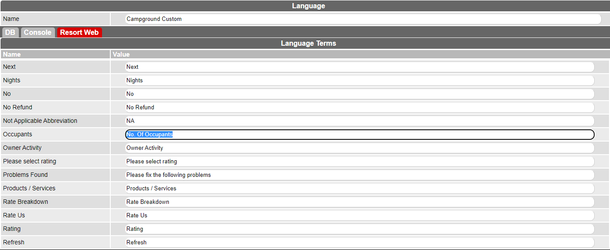
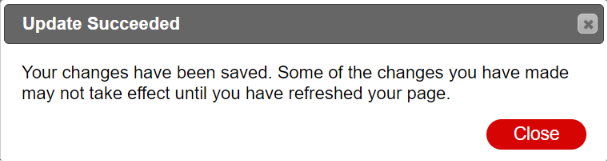
Click Submit to save your changes or click Cancel to discard your changes.
Deleting a Language
To delete a created language:
1. Select the desired language.
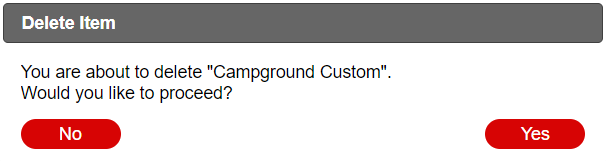
2. Click the Delete button to open the Delete Item dialog.
3. Click Yes to confirm deletion or No to cancel.
Activating a Language
To activate a new language:
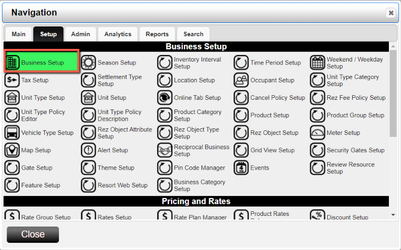
1. Click any Menu button.
2. Click the Setup tab.
3. Select Business Setup in the Business Setup section.
- Select the Preferences tab.
- Locate RXC 10 Language at the bottom left.
- Use the dropdown menu to choose your desired language.
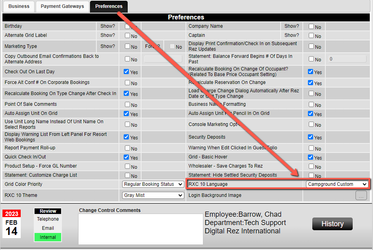
- Add a change control comment.
- Click Submit at the top of the panel to save your changes.
Troubleshooting
- Ensure you have the necessary permissions to modify language settings.
- Verify that the language templates are correctly listed and accessible.
- Confirm that changes are saved by checking the updated interface labels.