Inventory Interval Configuration Instructions
Last modified on:
Overview
This document provides instructions on configuring your Down to the Minute unit intervals for bookings. It includes steps for accessing the setup interface, adding new intervals, and managing existing intervals.
Prerequisites
- Access to the Admin / Accounting Setup section.
- Permissions to modify inventory intervals.
Steps
Location
- Click any Menu button.
- Click the Setup tab.
- Select Inventory Interval Setup in the Admin / Accounting Setup section.
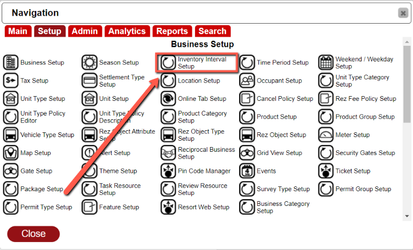
Inventory Interval Setup Interface
- The left panel displays active and inactive interval setups.
- The right panel shows the details of the selected interval.
Adding an Interval
To add a new interval:
1. Click Add.

- Enter the Name in the Add Inventory Interval dialog.
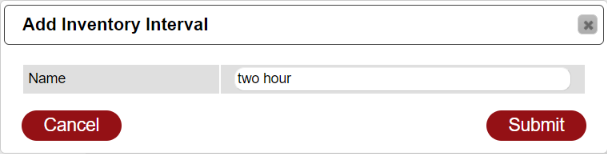
- Click Submit.
- The new interval will appear in the Inactive section.
- Proceed to set up the interval details.
Descriptions
- Name: The name of the interval.
- Start Time: The starting time of the interval.
- Last Time: The ending time of the interval.
- Minutes: Duration of the interval, in minutes.
- Amount (Number of Intervals): The total number of intervals allowed.
- Allowable Start Times: Select the start times that are permitted for use.
- Allowable Booking Intervals: Choose the intervals that can be booked.
- Active: Toggles the interval between active and inactive.
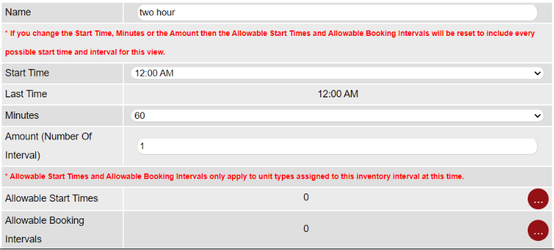
When you're done making your adjustments, click Submit. To cancel editing, click Cancel.

Deleting an Inventory Interval
To delete an interval:
1. Select the interval you want to remove.
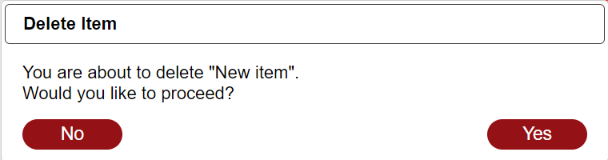
2. Click Delete in the top right.
- Select Yes in the prompt dialog to confirm the deletion.
Troubleshooting
- Ensure you have the necessary permissions to modify intervals.
- Verify that the interval details are correctly entered before submitting.
- If issues persist, contact support for further assistance.
