Client Editor Features and Usage Guide
Last modified on:
Overview
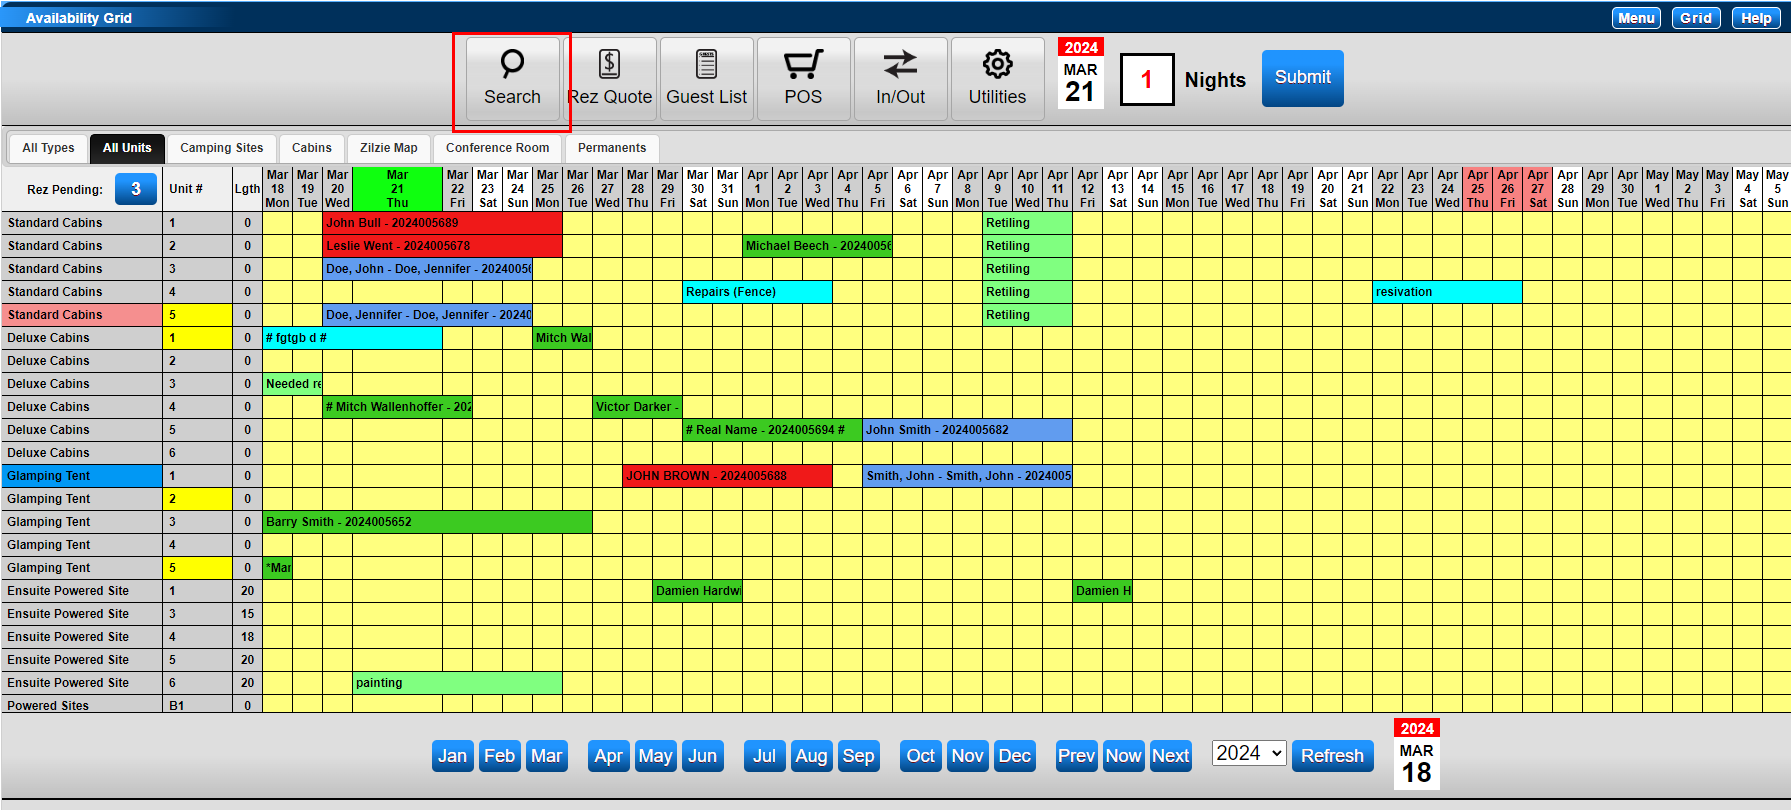
The Client Editor panel contains all permanent records of your guests and all the reservations associated with each guest. It is located at the bottom of the Availability Grid page.
- To view a Client Editor record:
- Click on Search to search for the client.
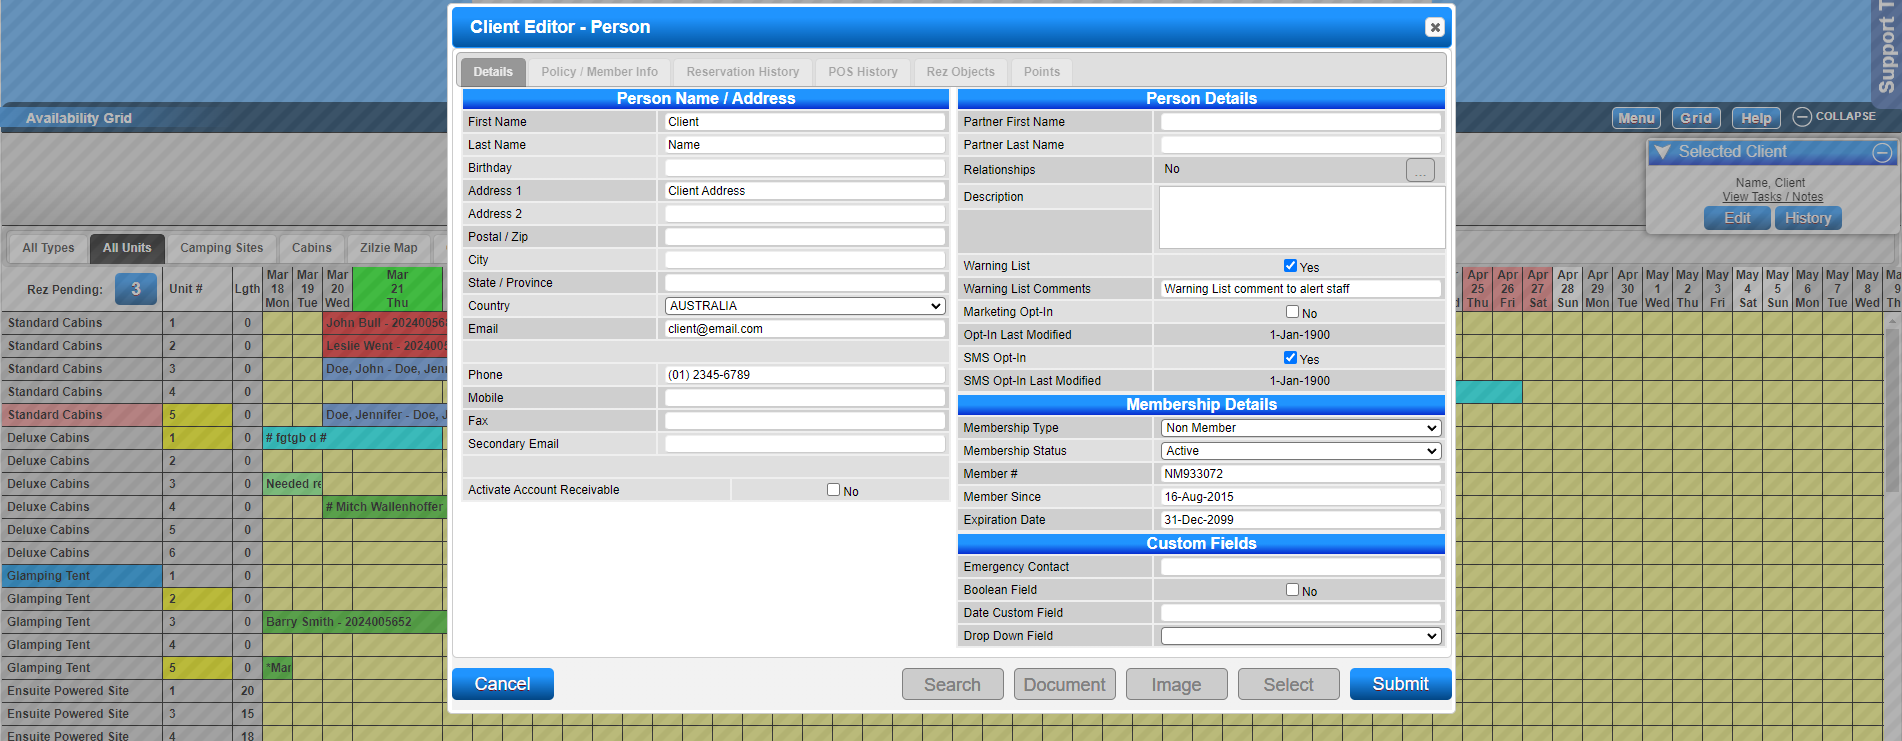
- Click Edit within the Selected Client box.
Prerequisites
- Ensure the Console Marketing Opt-In flag is enabled in Business Setup > Preferences tab for Marketing Opt-In.
- Ensure the Send SMS module is enabled for SMS Opt-In.
Steps
Client Details
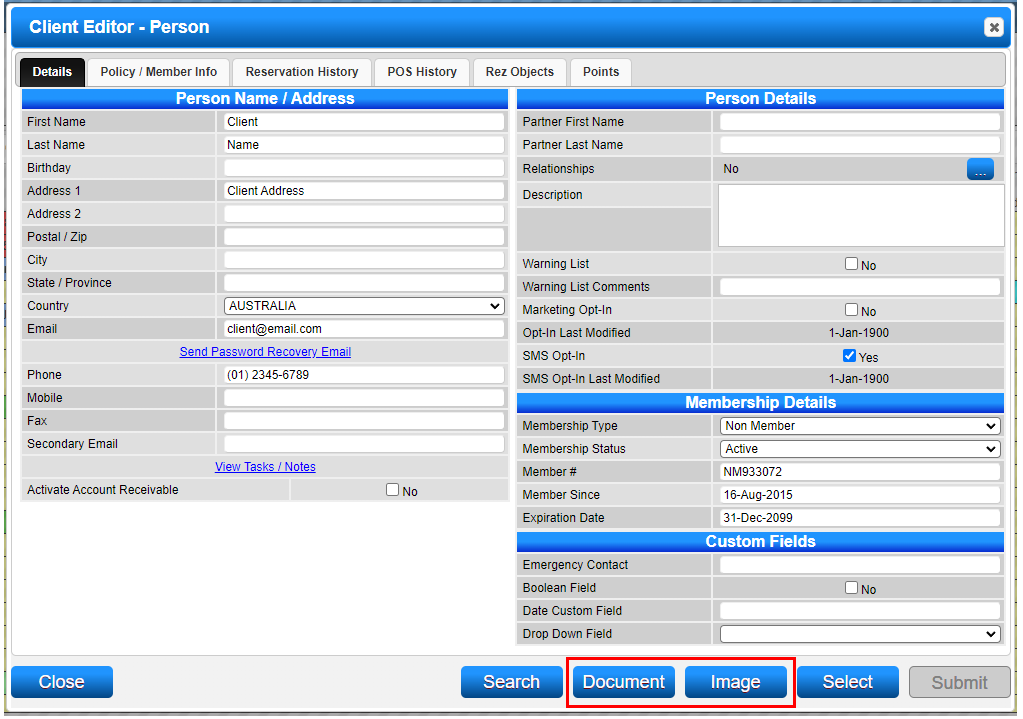
- When a client makes their primary reservation online or an operator creates a reservation for a new client, their Client record is created, containing all entered information such as Address, Phone, and Email.
- For future reservations, when the client is recalled via Search For Client, their details will auto-fill the Guest Folio Client Details.
- Note: Any alterations to details will update the Master Client Detail record for that client.
Person Details
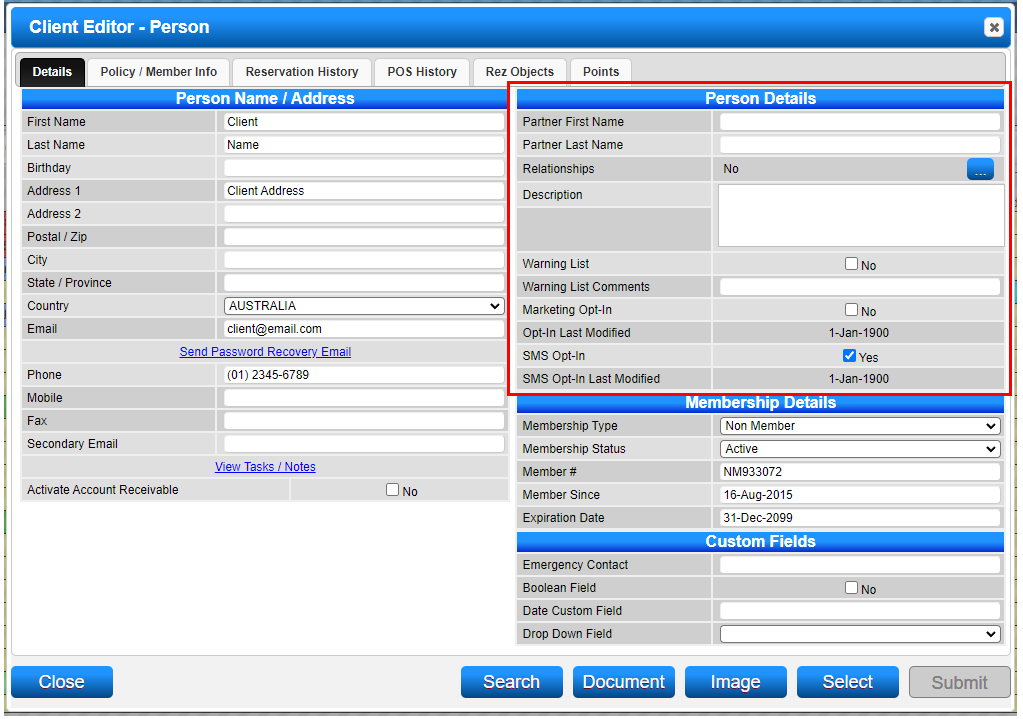
- The Person Details section allows entry of information on a Partner/second person.
Warning List
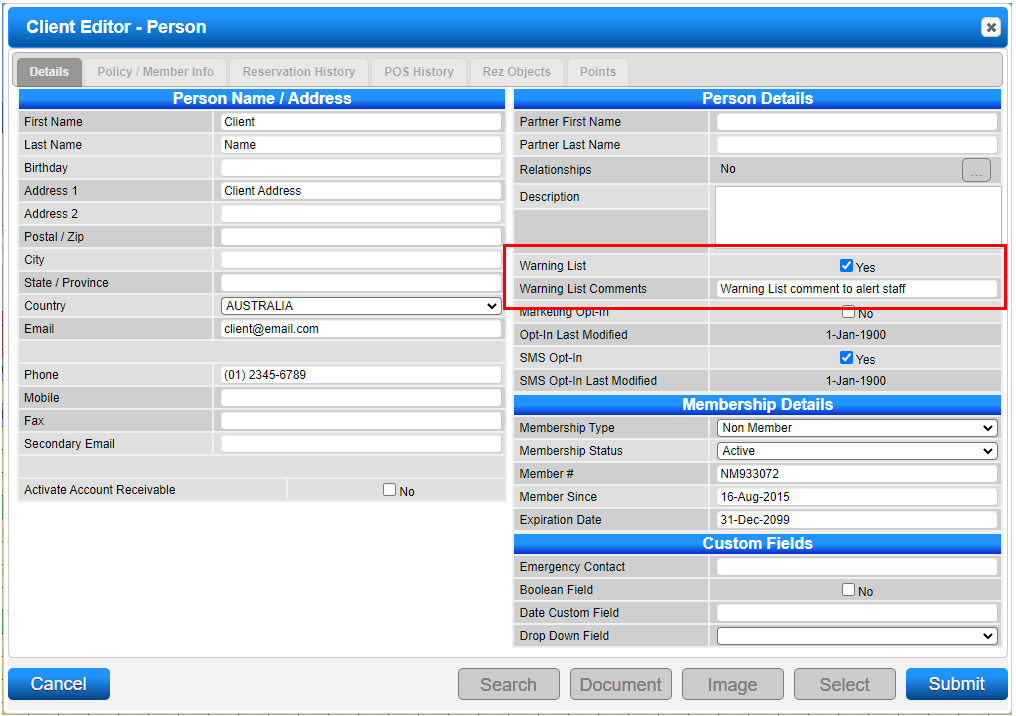
- The Warning List flag can be set to display a warning/pop-up message when the client is searched for, informing the operator of important information (e.g., Left Property or Disruptive).
- Information entered into the Warning List Comments field will display.
- The Client’s name will be highlighted in the Arrivals/Departure panel when the warning list flag is enabled.
Marketing Opt-In
- The Marketing Opt-In flag is available for operators to tick for clients wishing to be included in the marketing.
- Opt-In Last Modified will display the date the flag was ticked on/off.
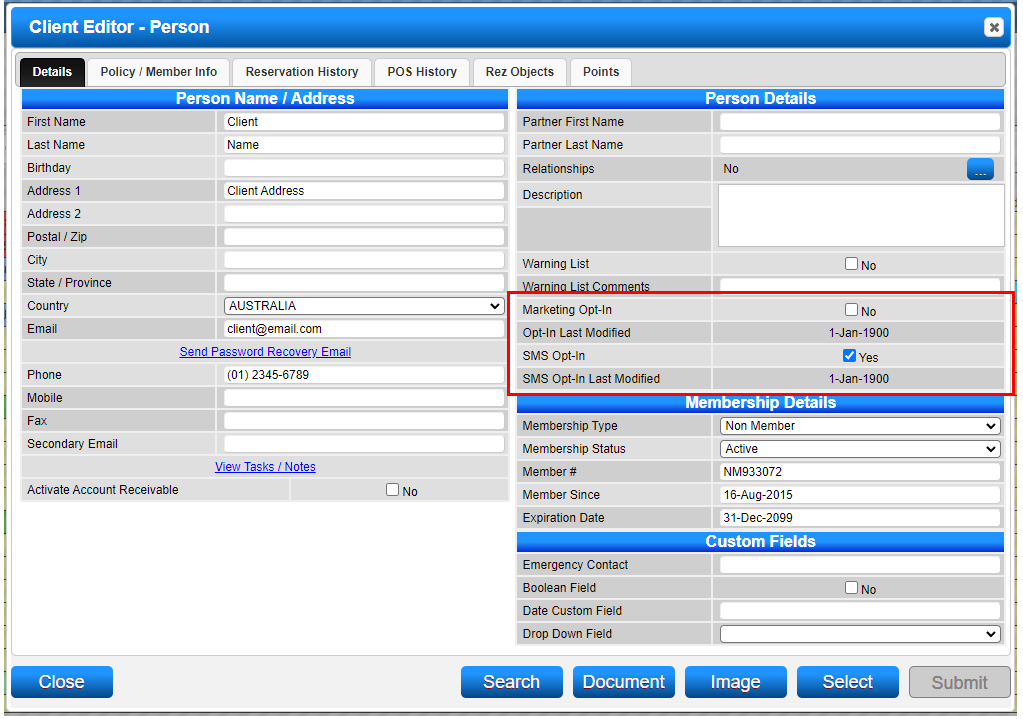
SMS Opt-In
- The SMS Opt-In flag is available for operators to turn on for clients who want to receive SMS messages.
- Opt-In Last Modified will display the date the flag is turned on/off.
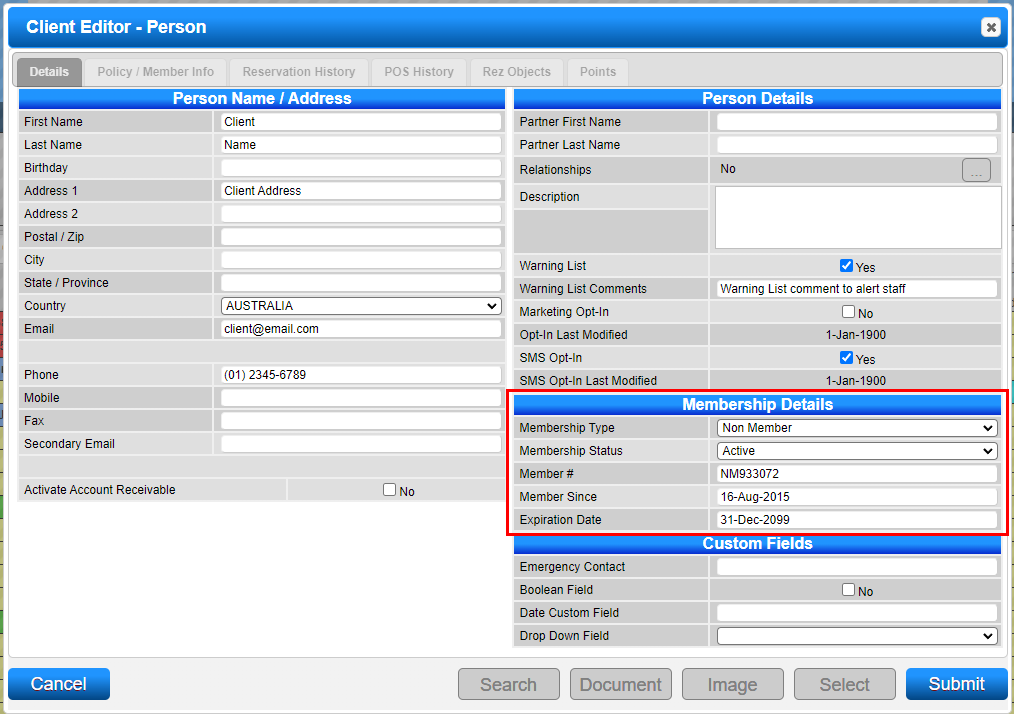
Membership Details
- Each client will have a Membership Type associated. Non-Member is the default.
- When the Membership Module is enabled, additional Memberships can be created and assigned to clients.
- Membership Status: Active. Inactive is only used when the client record is no longer used.
- Member #: Automatically created when the record is created.
- Member Since: Date the client record was created.
- Expiration Date: Date the client record expires.
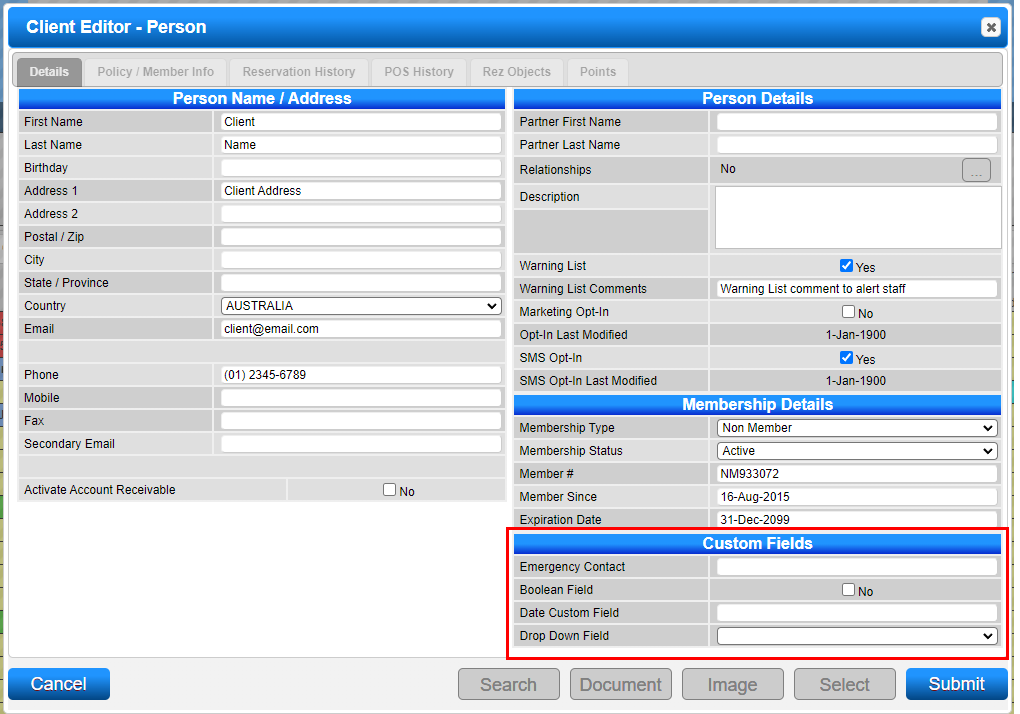
Custom Fields
- Any Client custom fields that have been created will display within the Client Editor for reference.
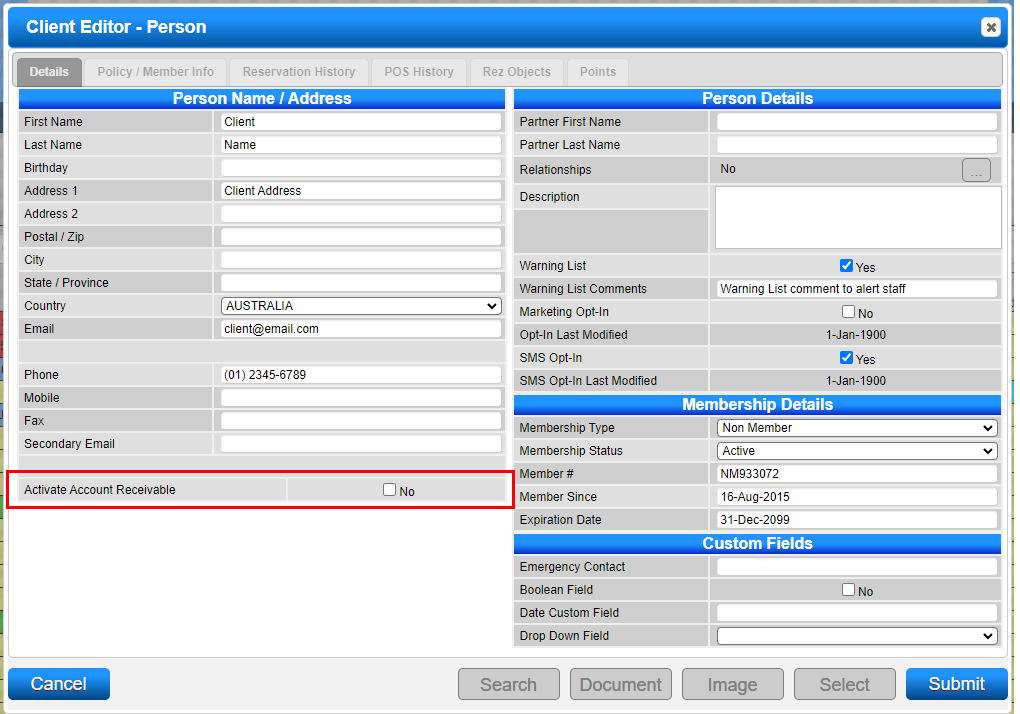
Activating AR Account
- An Accounts Receivable Account can be activated for the Client from within the Client Editor panel.
- Tick on the Activate Accounts Receivable flag to create an AR Account for the client.
Reservation History
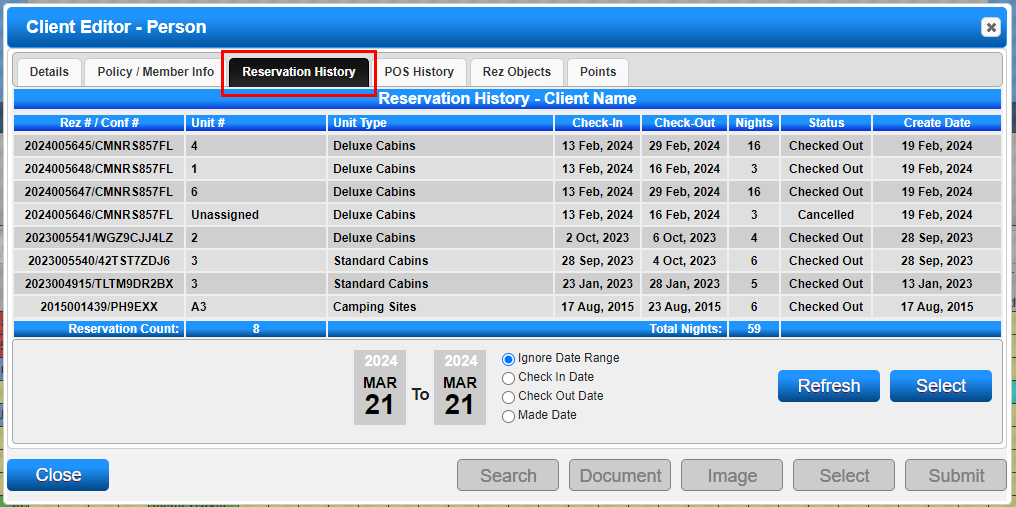
- All reservations made under the client’s name are stored with their Master Record.
- Click on the + symbol next to Reservation on the left to expand the Reservation History.
- All reservations (Checked In, Checked Out, and Cancelled) will display.
- Click the View link to access the booking’s Guest Folio.
- When Edit has been selected, the Reservation History tab will display. Click on the Reservation History tab to view the reservation history. Click on the reservation and click Select to view the booking's Guest Folio.
Policy/Member Info Tab
- The Policy/Member Info tab will display the Member History of the client.
Account History
- Will display any Account (AR and/or AP) information.
Billing Policy History
- If any Periodic Billing policies have been created for the client, policy information (Status, Start/End Date & Next Bill Date) will display.
Document and Image Button
- The Documents and Images button is available to upload documents and images.
- Document Format: PDF
- Image Format: .jpg or .png
- Once uploaded, the documents and images can be previewed. The default Image will also display within the Client Details section. The Client Image is also available to display on custom Single Reservation Reports.
Troubleshooting
Important Note
- Do not overwrite past client details with a new client's information. Those details will be updated against the past client (and their reservation history, etc.), resulting in the loss of the original client details. This cannot be undone. (The grid name is not updated, so you end up with the original guest name on the grid and the overwritten new name inside the reservation.)
- If the current client name is no longer valid and a new client is going to take over the booking, you need to cancel the reservation and create it again using the new guest details.