Import/Export Utility and Help Documentation Management
Last modified on:
Overview
The Import / Export Utility facilitates the import and export mechanisms for various forms of data and houses business-related help documentation.
Prerequisites
- Access to the Admin tab
- .csv format files for import
Steps
Location
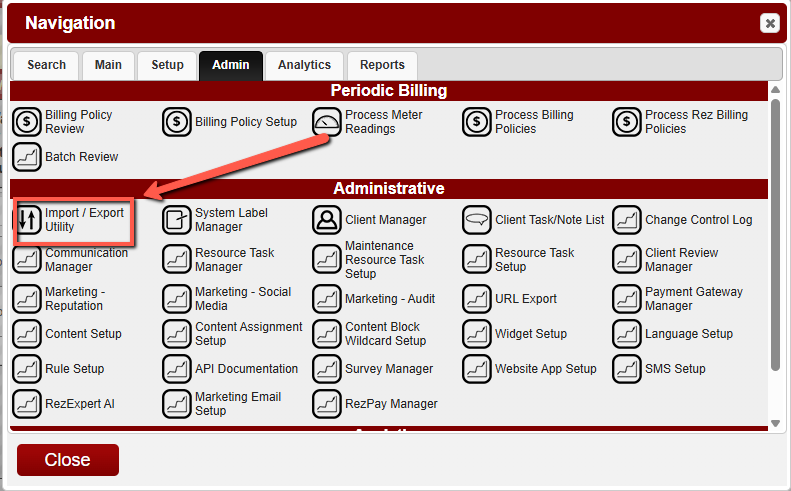
- Click the Menu button.
- Select the Admin tab.
- Click Import / Export Utility in the Administrative section.
Data
Import
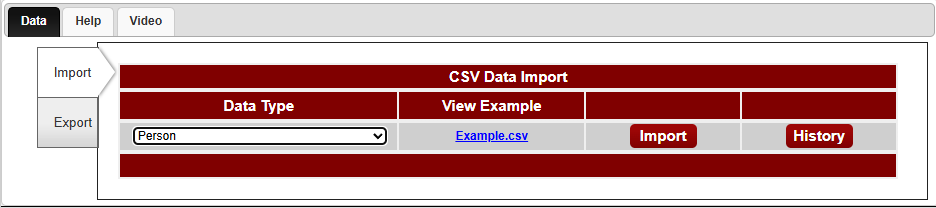
- The panel defaults to the Data tab, which dictates the import and export of data.
- The panel has an import and export option depending on your course of action.
Import Process
- Choose a data type.
- Click Import.
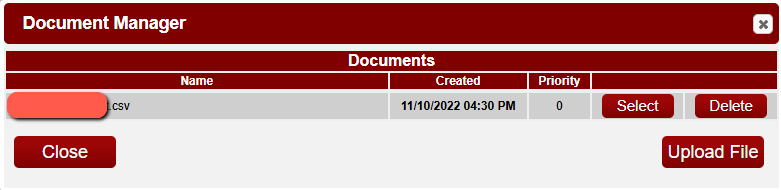
- Click Upload File in the Document Manager window.
- Select the necessary file.
- Once uploaded, click Select to import the data into the system.
Data Types
- Person
- Business
- Chart of Accounts
- Member
- Pencil In
- Reservation
Export
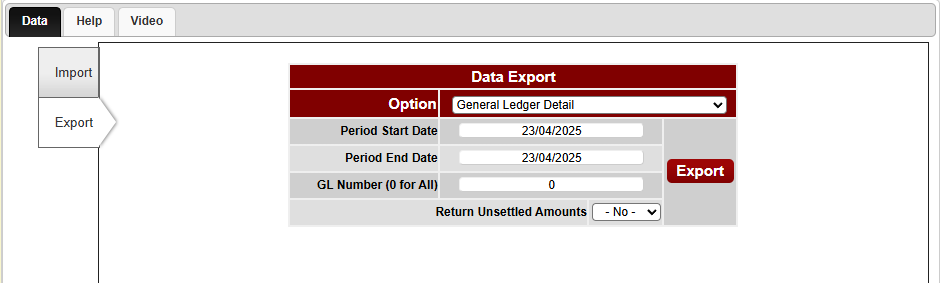
- Export allows the user to pull certain data from the system according to user needs.
Export Process
- Choose the type of data you want from the drop-down list provided.
- Click the Export button.
- Configure additional options for more accurate results if available.
Help
- The Help section is where business-specific help documentation can be uploaded for future use.
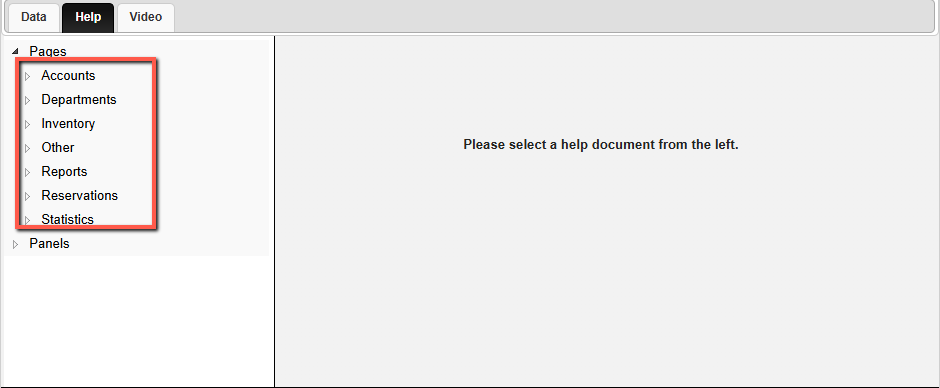
- There are two main categories: Pages and Panels.
Pages
- The Pages options are the different segments within the system based on various parts of the system.
Panels
- The Panels options are set for each menu item in the navigation menu panel.
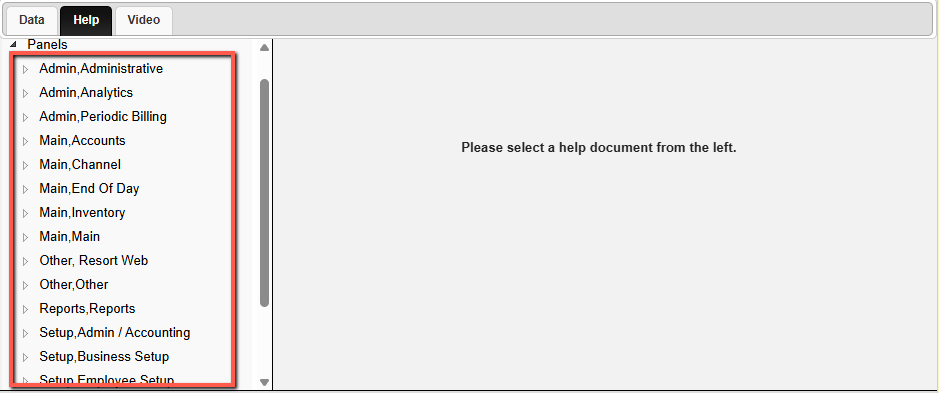
- Users can expand a Panel option and select one of the available options within that panel.
- Once selected, they are presented with two options:
- To Test (or view) currently uploaded documents.
- To upload a help document for that panel.

Uploading a Document
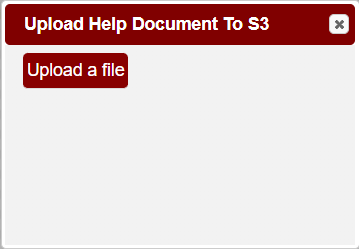
- Click the Upload button.
- Click Upload a file.
- Select a file (PDF format) to upload.
Video
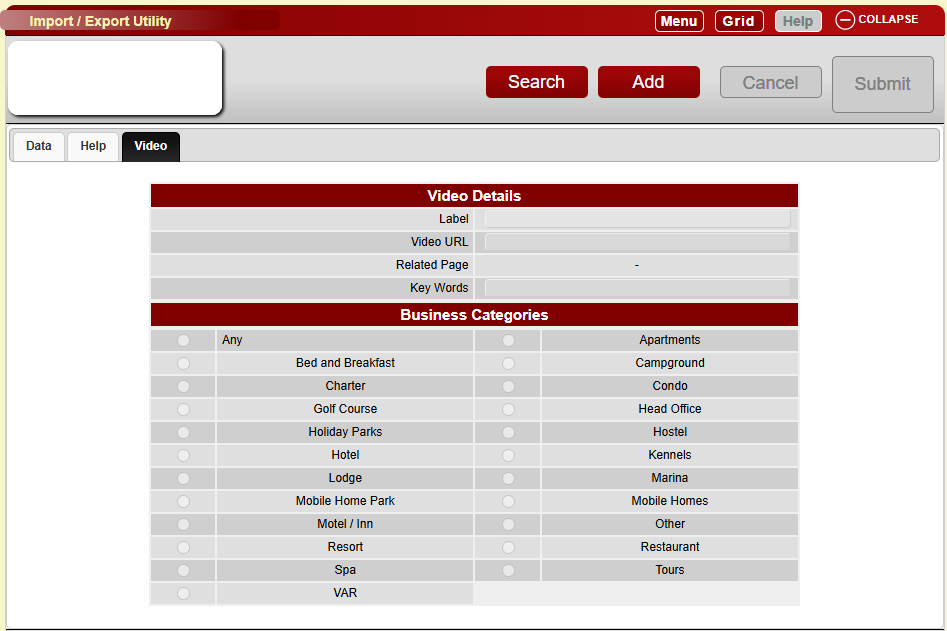
- The Video page is used for finding help videos for a specific panel or page in the system.
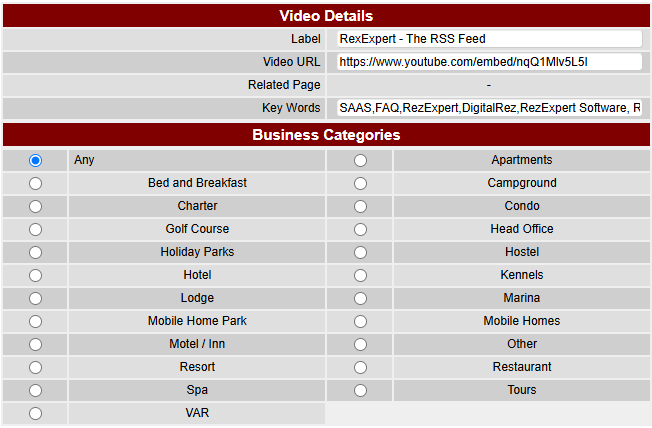
- The page defaults to an empty slate of attributes related to the Video Details and related Business Categories.
Finding Videos
- Click the Search button.
- Enter information into any Search criteria.
- Click the Search button.
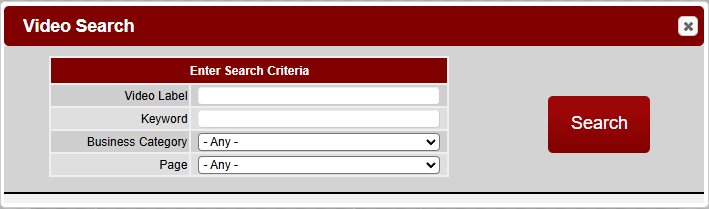
Search Criteria
- Video Label
- Keyword
- Business Category
- Page
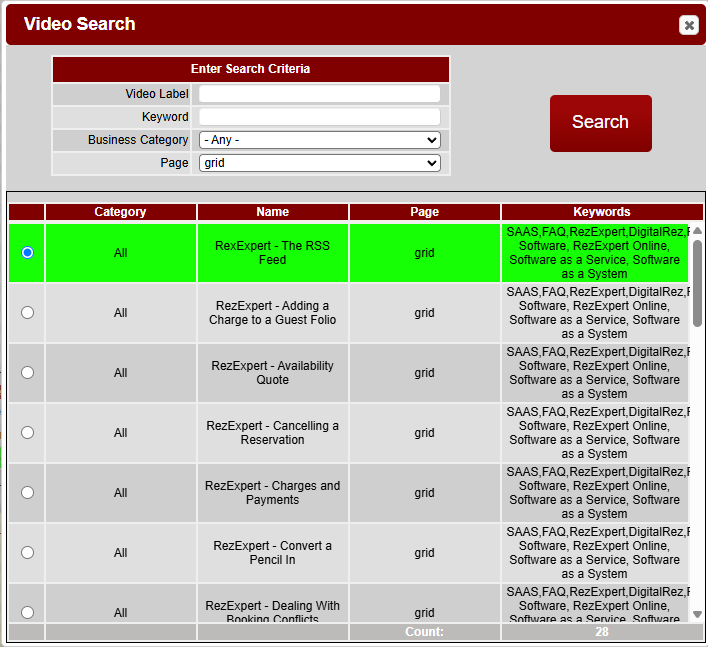
- When search criteria is entered, e.g., Page: grid, and Search is selected, the system loads a list of relevant videos to choose from.
- Select an item from the list to load the details into the main page.
Adding Videos
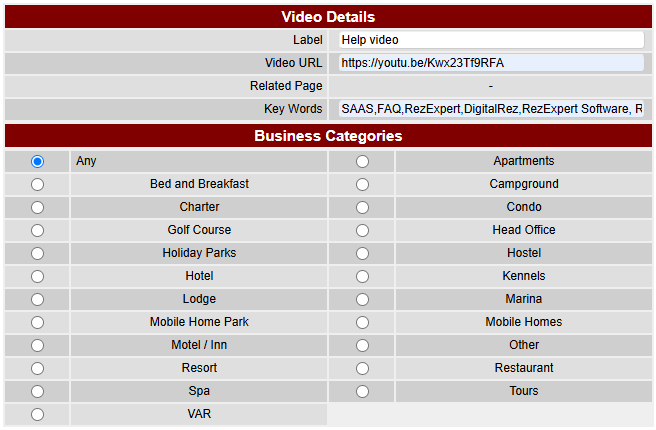
- Click the Add button at the top of the panel.
- Enter the information into the Video Details section.
- Choose a Business Category.
- Add your Change control Comments.
- Click the Submit button to save your changes.
Troubleshooting
- Ensure files are in the correct format (.csv for import, PDF for help documents).
- Verify that the correct data type is selected before importing or exporting.
- Check the File status column for document upload confirmation.