Permit Group Configuration and Management
Last modified on:
Overview
Allows users to configure different categories of permits. Permit Groups can then have Permit Types assigned, such as Adult(s).
Prerequisites
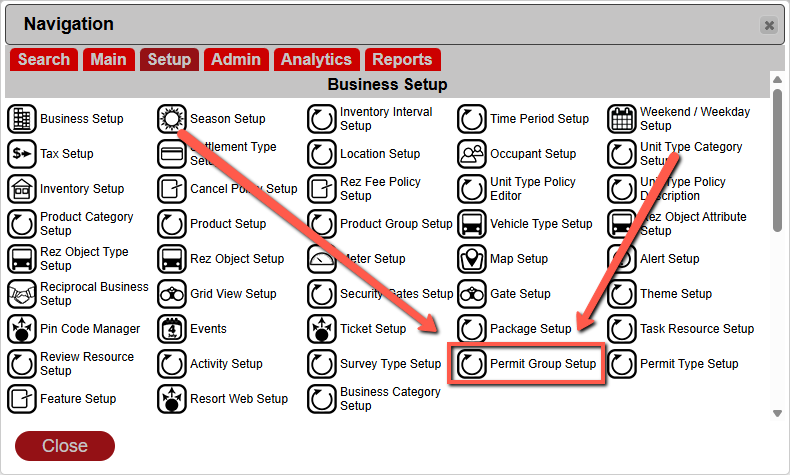
- Access to the Menu
- Access to Setup
- Access to Permit Group Setup
Steps
Adding a Permit Group
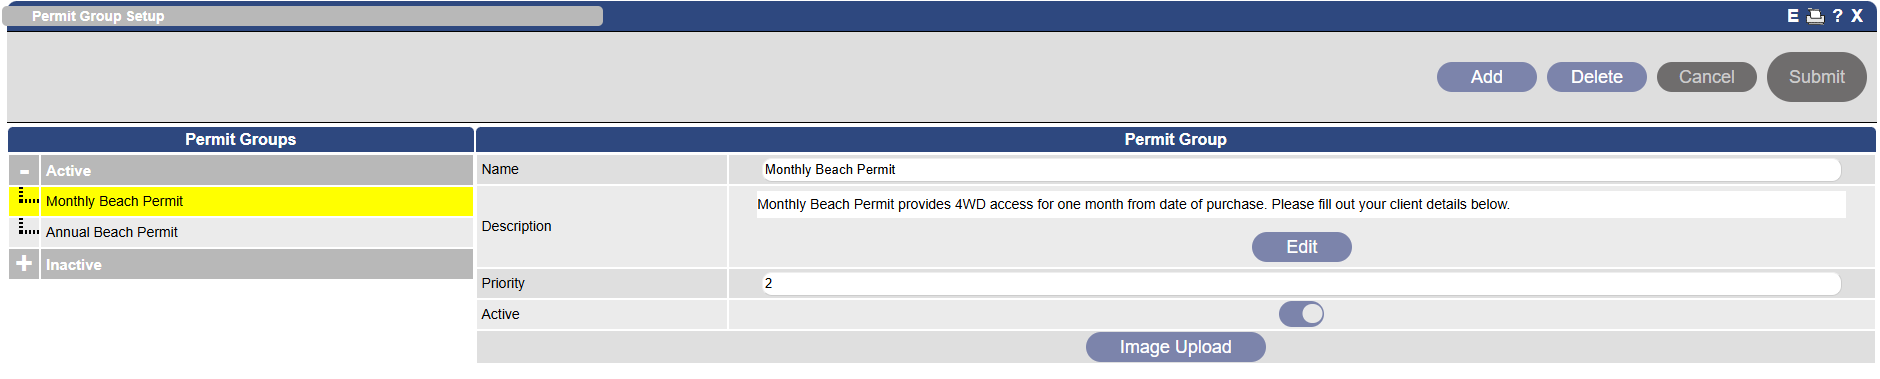
- Click the Add button to activate the input fields.
- Input the Name of the Permit Group.
- Add a Description to display in the Permit Details section of the online permit interface.
- Set the priority for the order it is listed.
- Turn on the Active toggle to make it available for use.
- Click the Image Upload button if there are any pictures of the permits.
- These images will display on the online permit interface.
- Format: png or jpg
- Max image size: 600 pixels wide x 400 pixels high. - Click Submit to save your changes.

Permit Types can be assigned to Permit Groups within Permit Type Setup.
Deleting a Permit Group
- Permit Groups can only be deleted if there are no Permit Types assigned.
- If permit types have been assigned, the Permit Group needs to be made Inactive, instead of Deleted.
- Select the permit group that you want to delete.
- Click the Delete button.
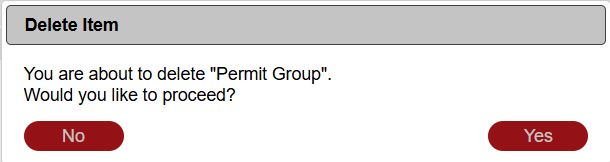
- Click Yes to confirm deletion or No to cancel.
Troubleshooting
- Ensure no Permit Types are assigned before attempting to delete a Permit Group.
- If unable to delete, consider making the Permit Group inactive.